Professional Installation
Inground
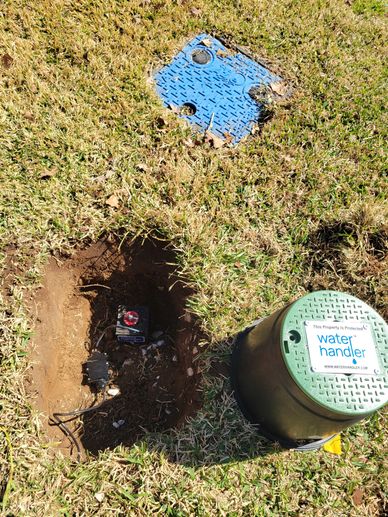
The Water Handler's Stainless Steel Ball Valve Is Designed To Mount Directly Into the Home's Water Line. The Dealer Will Supply the Access Box With An Identification Name Plate On The Lid.
Manual Control Access
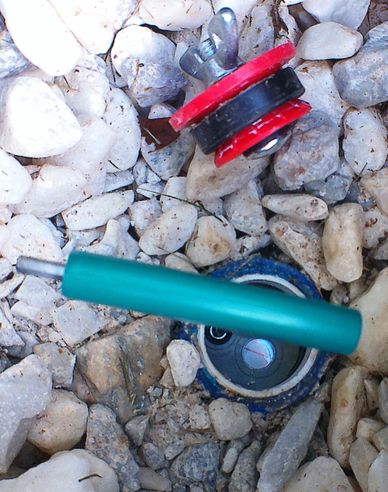
The Dealer Will Pour Gravel Around The Valve To Keep The Access Area Clear Of Mud And Other Debris.
Power-Control Cable
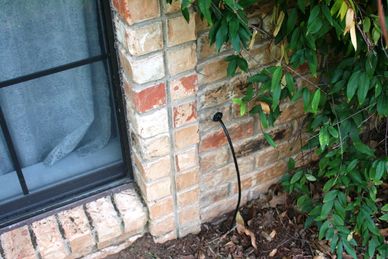
Each Water Handler System Has (100) Feet Of Sprinkler Control (Orbit) Wire That Will Withstand Many Years Of Being Buried In All Types of Soil. With The Operating Voltage Being 12 Volts DC There Is No Electrical Threat.
With A Diameter Less Than 3/8 Inch And Being Fairly Stiff The Cable Is Easily Brought Through An Outside Wall Of The Home.
Wall Mounted Smart Control Box

When Determining The Best Location To Bring In The Power/Control Cable It Is Best Have A Close Wall Outlet As Shown Above.
Enrolling the System
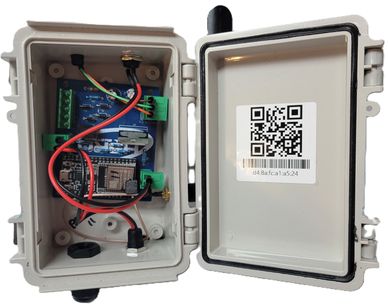
With The Water Handler System Completely Installed The Next Step Is To Enroll It On Your Water Handler Network By Following The Steps Below.
Adding the Device
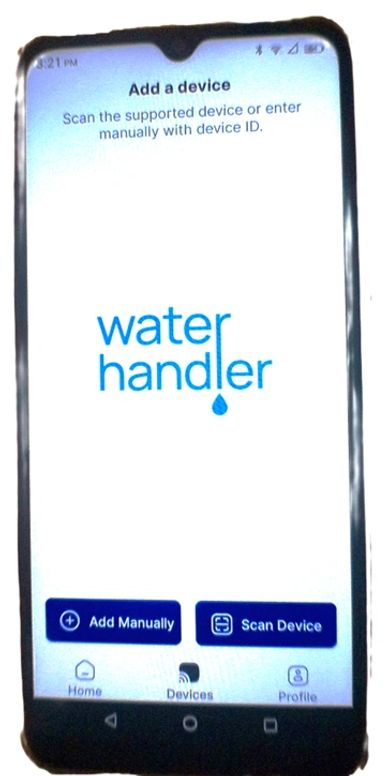
Enrolling Your System Is Easy

Step 1. Search for Water Handler on the Google Play Store or Apple Play.
Step 2. Download and install the APP on your portable device (cell phone or tablet).
Step 3. Setup will ask you to SCAN the QR code located on the inside lid of the Smart Control Box. If you OPT to Enroll Manually the Device I.D. (MAC Address) is printed just below the QR code.
Step 4.You will be asked to enter your email address to receive verification of your Water Handler Network account.
Step 5. You will be asked to “ADD a DEVICE then give it a NAME and LOCATION.
Step 6. You will need to "PAIR" the Smart Control Box with your WIFI router so have your router's ID and Password available.
Step 7. When the Smart Control Box is ONLINE a Green Circle will appear around the valve graphic.
Step 8. Press the Green Circle and another valve graphic will appear showing a BLUE stream of water passing through it. This indicates that your water is turned ON.
Step 9. As a TEST... Tap the BLUE power button to cycle your water OFF making the power button turn RED. Tap the button again and the water will start flowing again in seconds.